DIY Raised Garden Bed

For a while now, I’ve been wanting to spruce up the backyard. I’ve had my eye on some teak garden furniture which is supposed to be really hard wearing, and it would mean we could eat outside which would be lovely in the summer months. The kids might even fancy sitting outside to do homework and crafts which would be much healthier for them. However, I don’t want any of us getting either burnt in the sun or rained on by a spontaneous storm! This is why an outdoor pavilion would be perfect to shelter our garden furniture to increase the longevity of our enjoyment outside! I also wanted a raised garden bed in our backyard. Our front yard is only so big so I didn’t have any more room for flowers, and we definitely didn’t have any space for a vegetable garden. Our back yard has been so run down by the dog and the kids that I was afraid to plant anything back there for fear it would be trampled.
I’ve been checking out Pinterest and some of my favorite blogs just keeping an eye on things. I’d also looked at some kits and talked to some friends who had them or knew people who had them. One of my friends had even brought up durapost parts to help make the raised beds last forever, so maybe next time we’ll use them.
Then yesterday, we finally had just enough money that we could build it. My loving husband did some research in the morning and went out to Home Depot for the supplies. Here’s what he picked up:
1x6x6 picket fence boards cut to 5 ft and 2 ft
2×2 grading stakes for corner posts
1×2 grading stakes for added support
Top Soil
Potting Soil
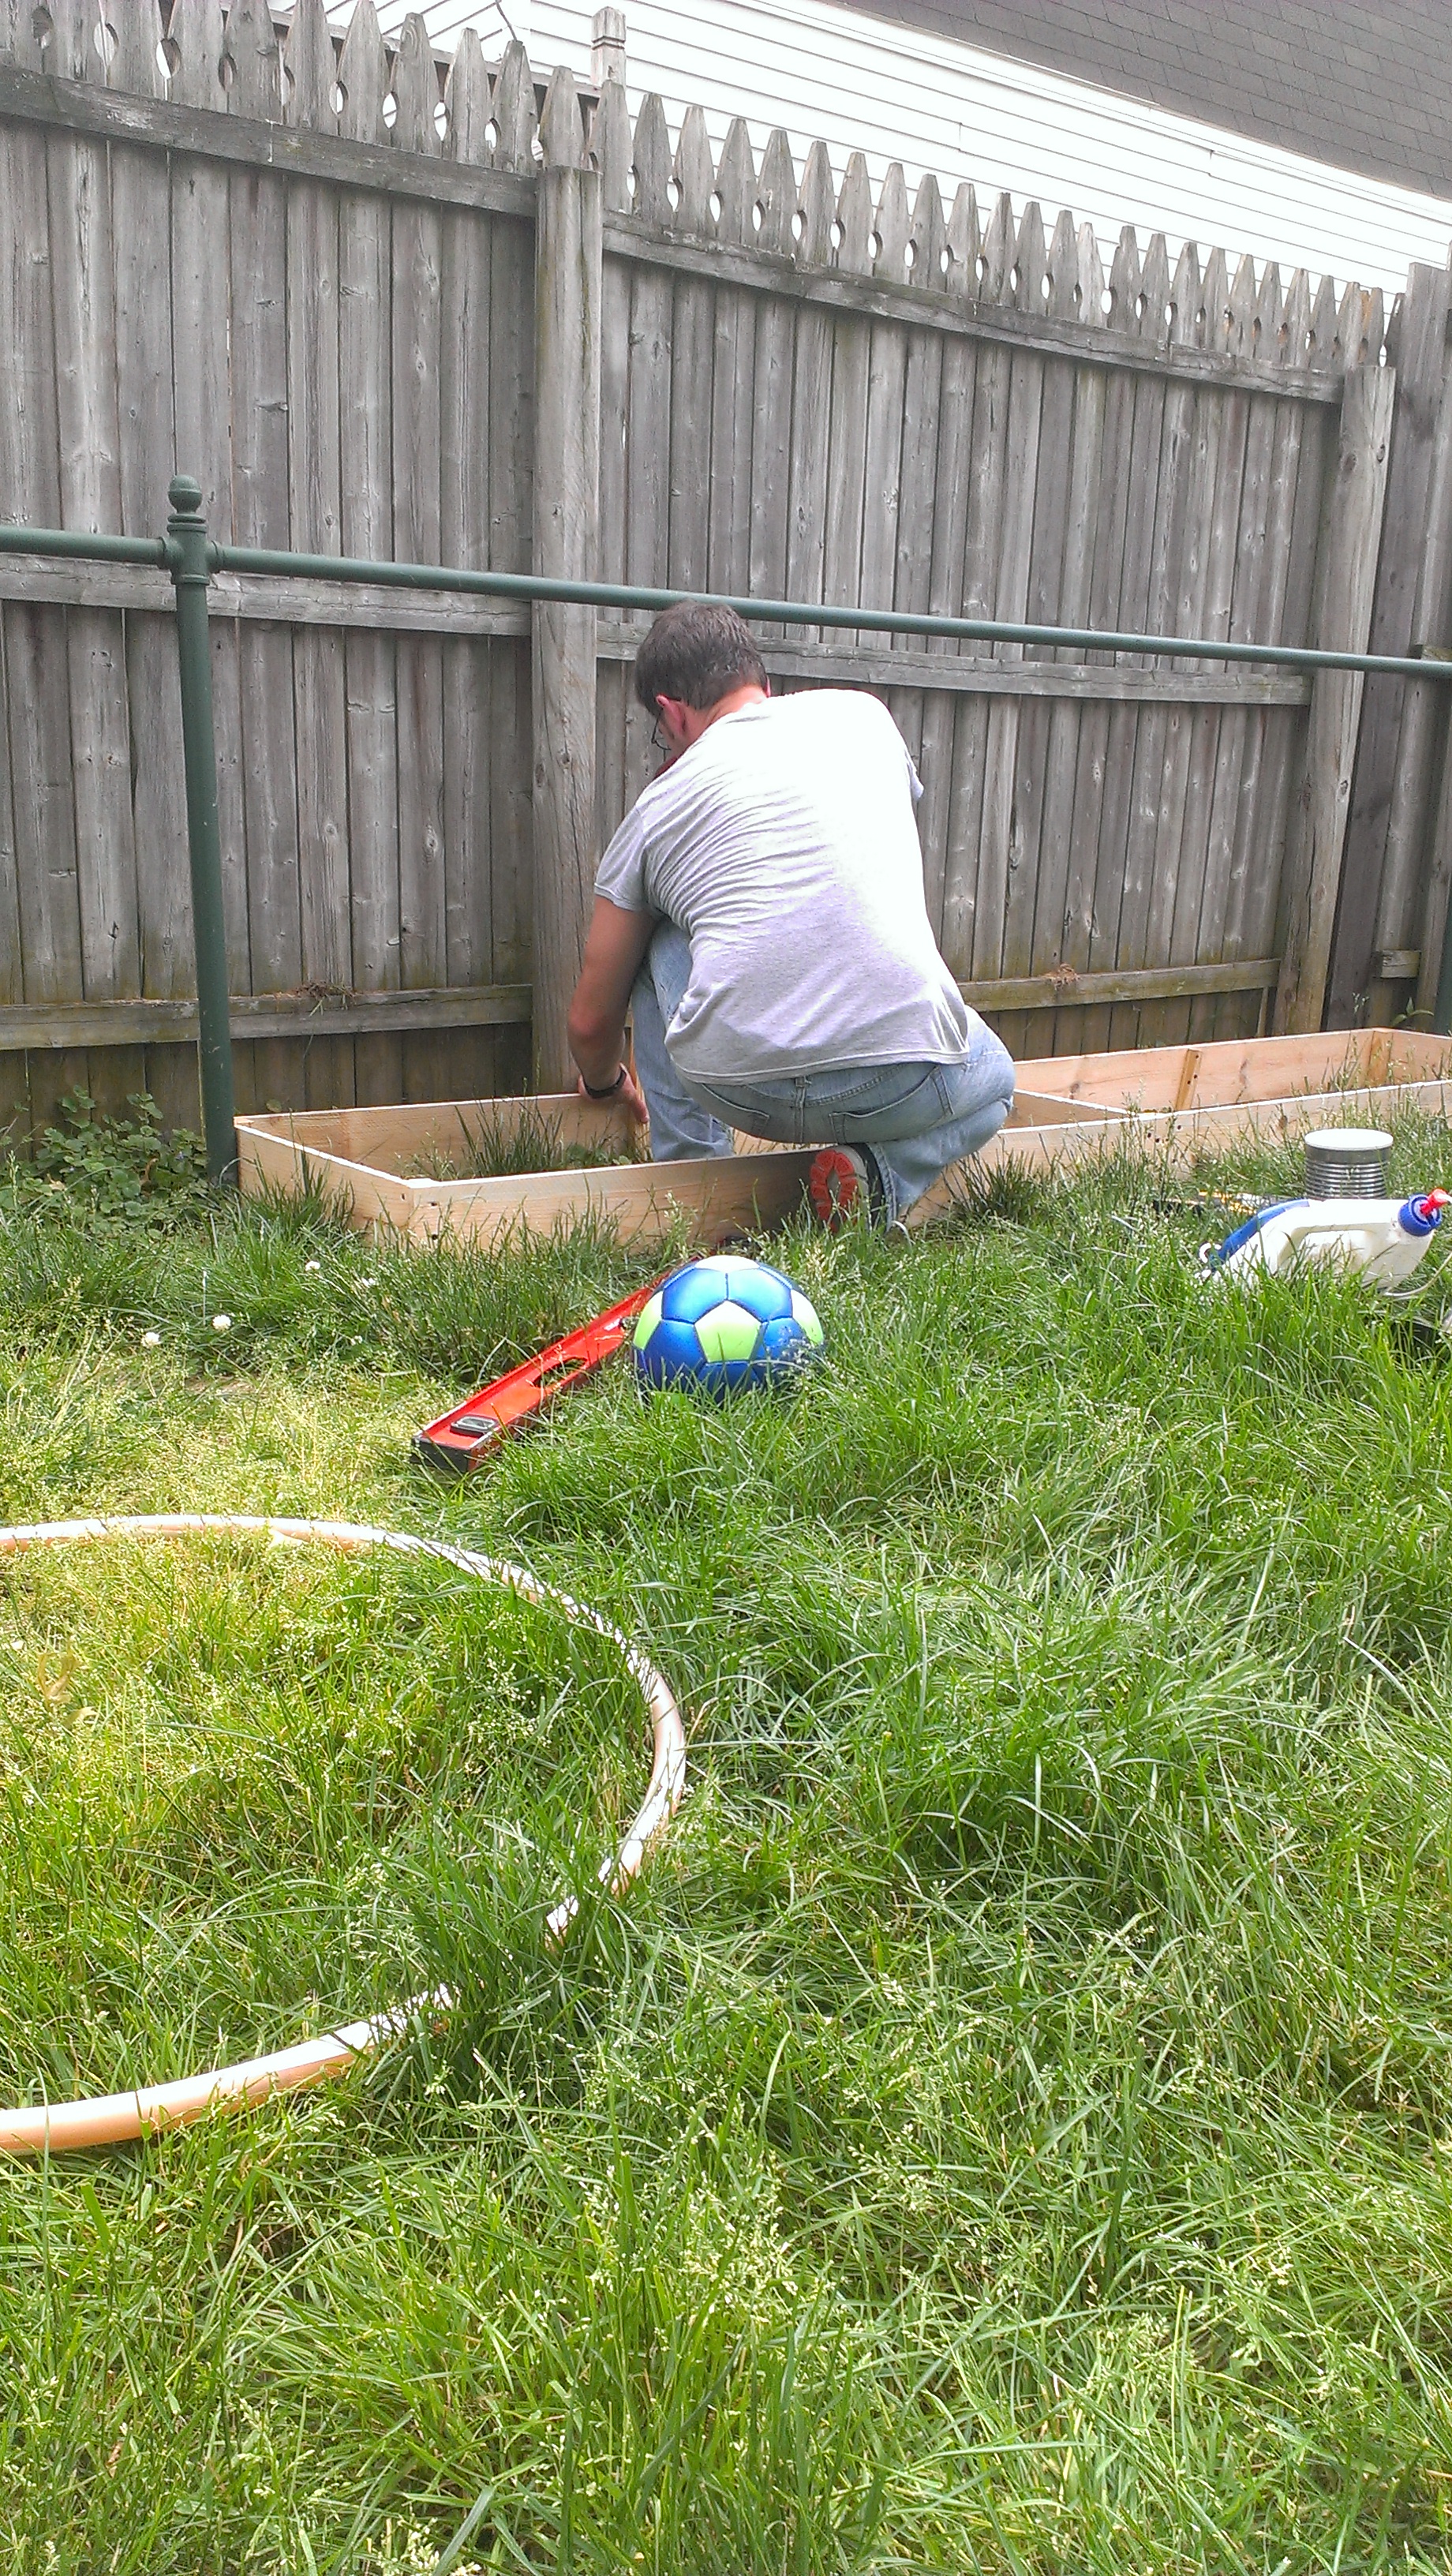 Initially, Prince Charming put together the planter before driving the stakes in the ground, as our ground isn’t very level, and he wanted to make sure the box was level. He is, however, planning to try it a little differently today. I’m providing instructions for his plans for today.
First Prince Charming cut down the picket fence boards to 5 ft and 2 ft. We wanted our box placed between some existing metal posts in our yard and about 2 feet out to cover the torn up yard, so ultimately the box would be a final 10×2. Our box is 6″ high. Height for raised flower beds tend to vary between 6″-12″ on planter boxes depending on your preference and your yard.
Next, Prince Charming attempted to level out the ground (as much as possible) so that the box would be level. He then drove the corner stakes into the ground and screwed the 5-foot and 2-foot sides of the box to stakes. After that, he drove the center stakes into the ground halfway between the corner stakes and attached the respective sides to those stakes.
After all this, we filled the box with 4″ of top soil followed by about 1″ of potting soil, and we were done.
We put one planter box together yesterday and will finish the second one today. Eventually we’ll build two more, but for now we’re just sticking with two. This project cost us a grand total of $65.81 for both boxes (including soil), which makes each box $32.91 (including soil).
Hubby did great with our resources on this one! Most boxes you have to spend at least $30 on (for just the box), and we’ve noticed that they tend to bow outward after a while. These should be fairly sturdy, and are even cheaper than what you’ll find at the stores. You can’t beat it!

Thanks to Home Depot for the good prices! If you are interested in changing your garden fence then why don’t you check out this wood fence installation.
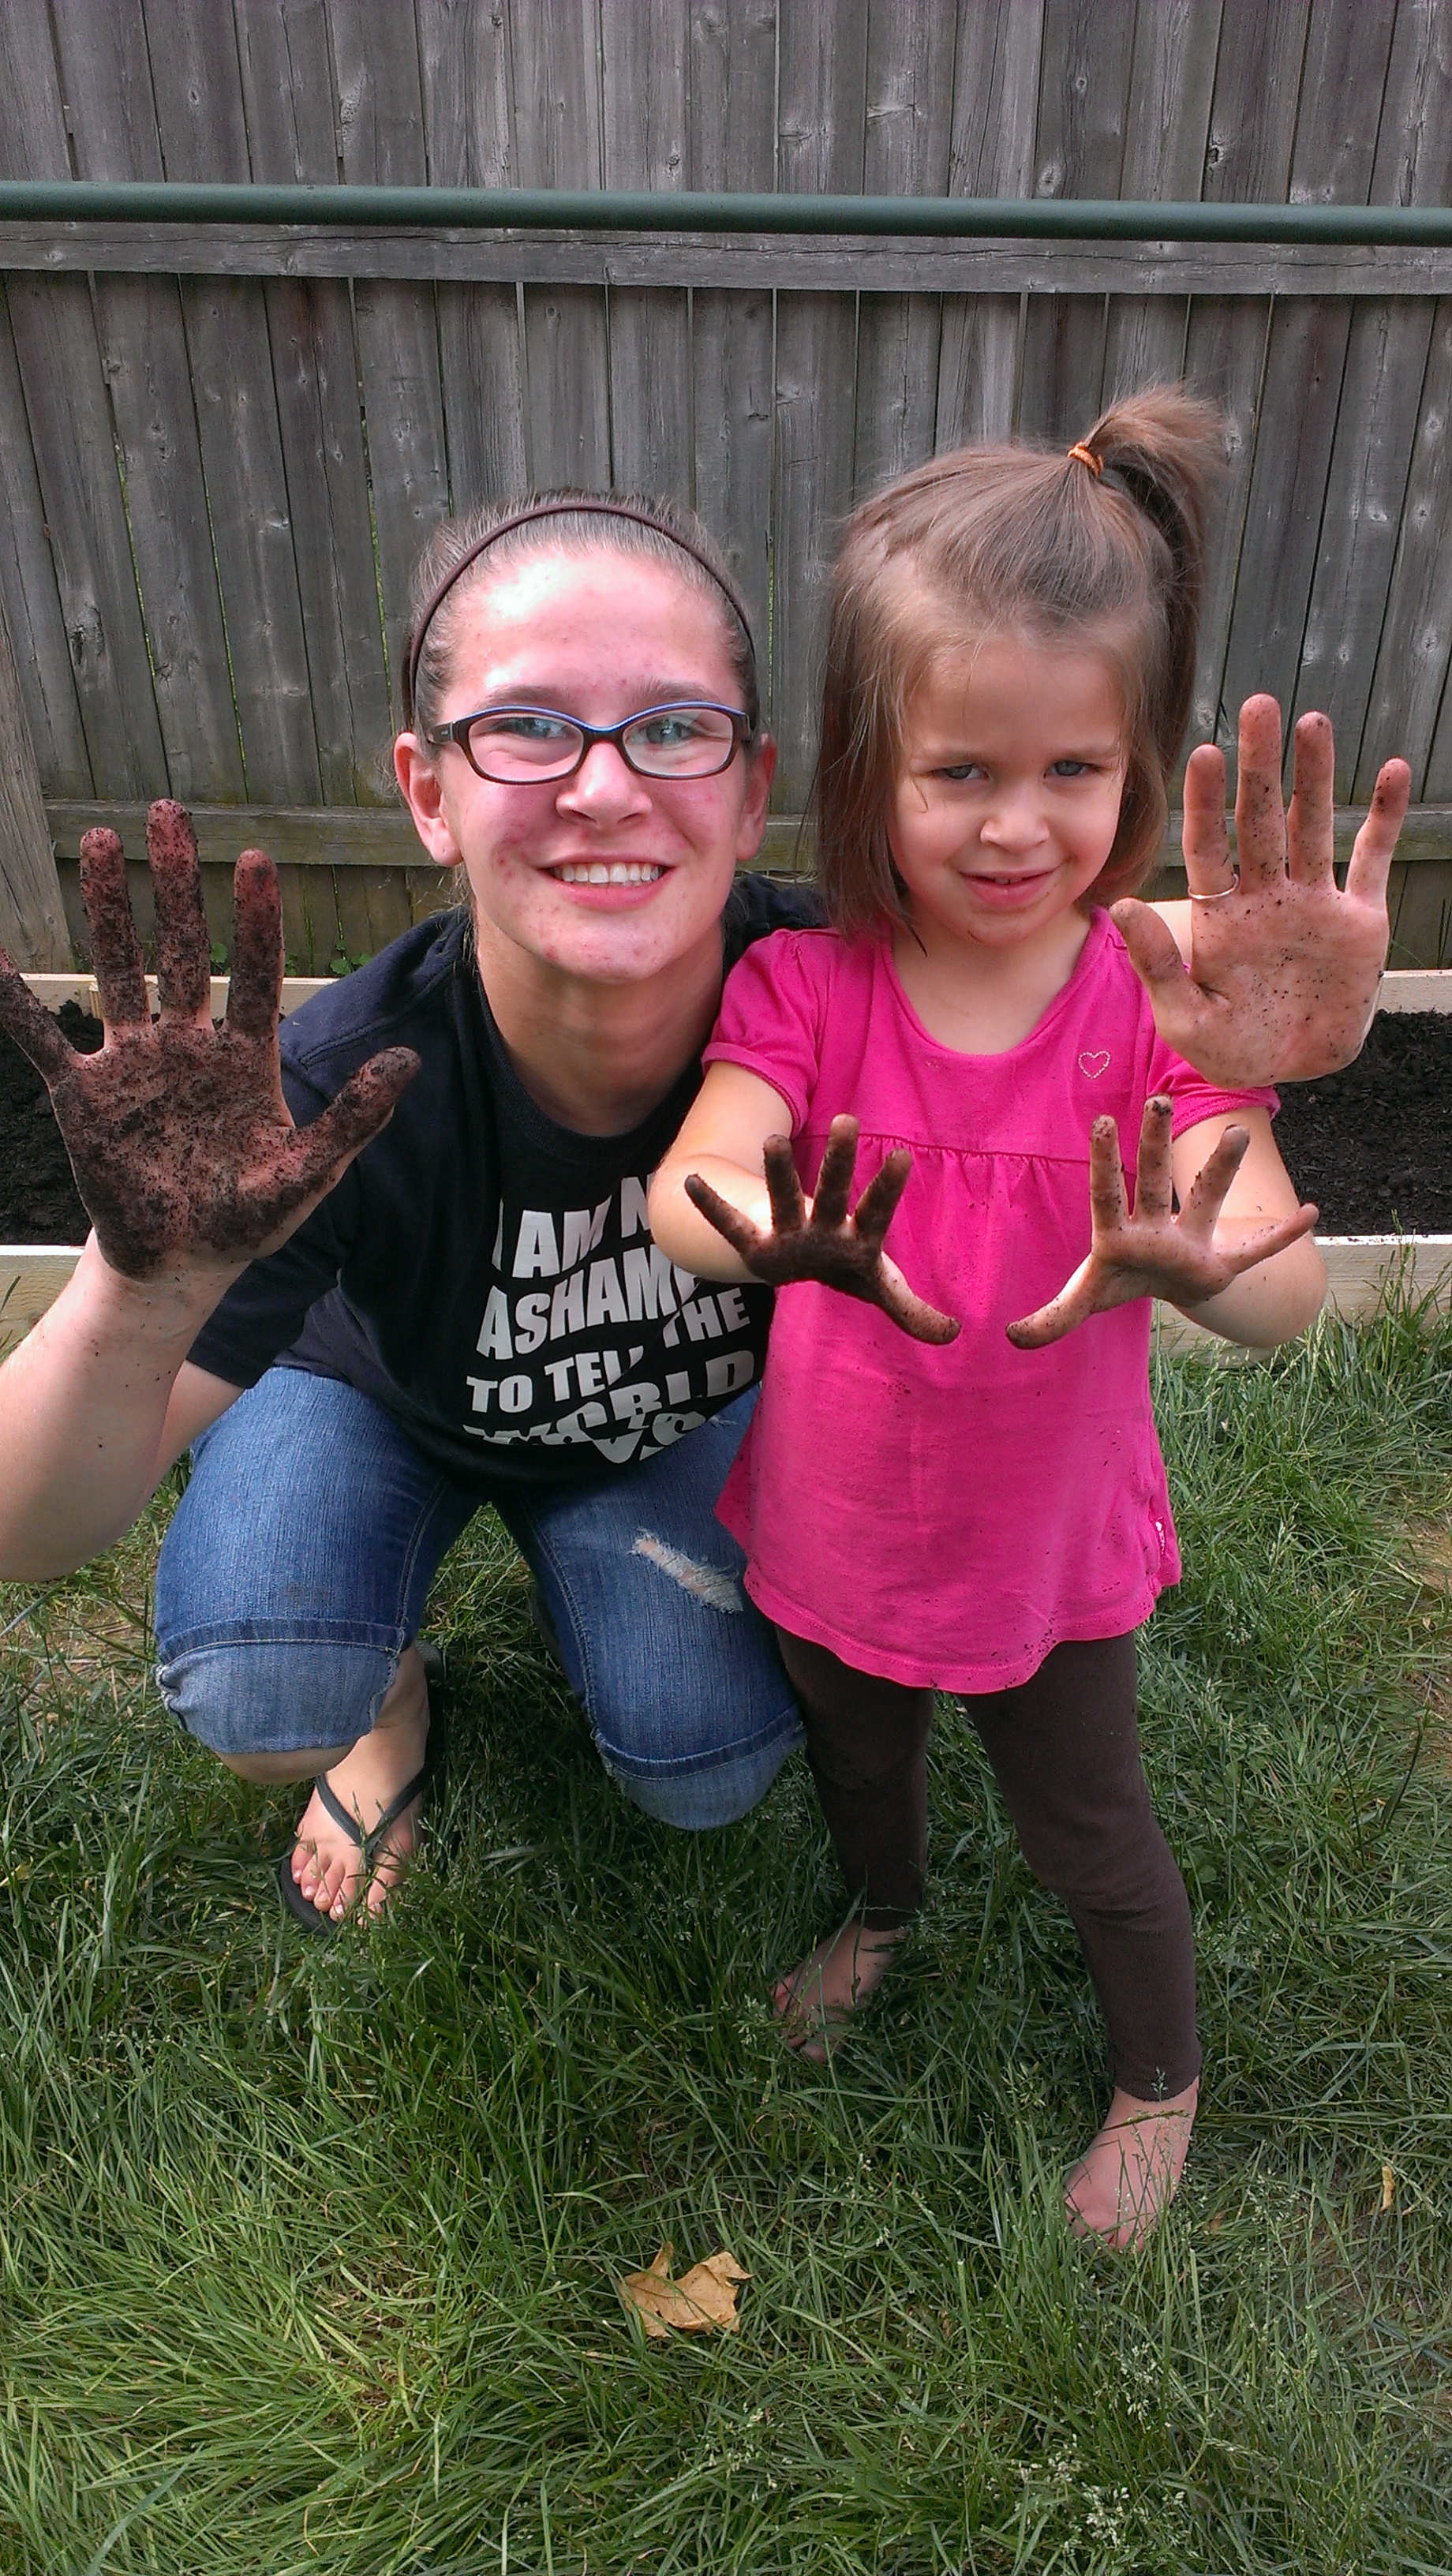
And…since we ended up putting together the raised flower beds yesterday, we switched the days on our summer calendar. So yesterday was our “Plant a Garden” day. Tinkerbell and Rapunzel planted some flowers and greenery my stepmom gave me, and today we will plant some vegetables, including cucumbers, tomatoes, and carrots. We’ll also make our homemade lemonade tomorrow.
This was a great family activity. THANK YOU to Prince Charming for spending all his time and effort on this project for me! Even Wendy and Cinderella helped out a little bit (even though Cinderella had a strenuous weekend helping my in-laws). I can’t wait to see our plants grow!
NOTE: For those concerned about the chemicals in pressure-treated wood like fence posts, I am currently not concerned with the risks, as the dangers from these chemicals are very small. If you’d like more information, please visit the following links:
This Post Has 2 Comments
Comments are closed.
[…] ahead to this week, I’ll be posting a follow up to my DIY Raised Garden Beds post tomorrow and follow up with our June monthly menu on Thursday. Not sure about anything yet […]
[…] you’d like to start your own raised garden bed, check out how we did it a few years ago by clicking here. Make sure when you are planting that you are placing your plants where they will get the right […]